
Garage Door Won't Close? A Step-by-Step Diagnostic Walkthrough
A door that won't close usually points to one of a handful of causes, and most of them are safe to check yourself in under ten minutes. Here's the exact order to check them in.
Why the Order of Checks Matters
When a garage door won't close, the instinct is to assume the opener motor has failed. After seventeen years of service calls around Aurora, Ryan Delaney can say the opener is the least likely culprit. The wiring harness, the sensors, and the mechanical path the door travels through cause the overwhelming majority of "won't close" calls, and almost all of them can be checked from the garage floor with no tools beyond a flashlight and a rag.
This walkthrough goes in a specific order on purpose. Each step rules out the most common and easiest-to-fix cause before moving to something more involved. Skipping ahead to the opener or the springs before checking the sensors wastes time and, in the case of springs and cables, can put you in front of a part under enough stored tension to cause a real injury. Work through the steps in order, and stop immediately if you reach the point in Step 6 where the signs point to a broken spring or cable.
Step 1: Check the Safety Sensors Near the Floor
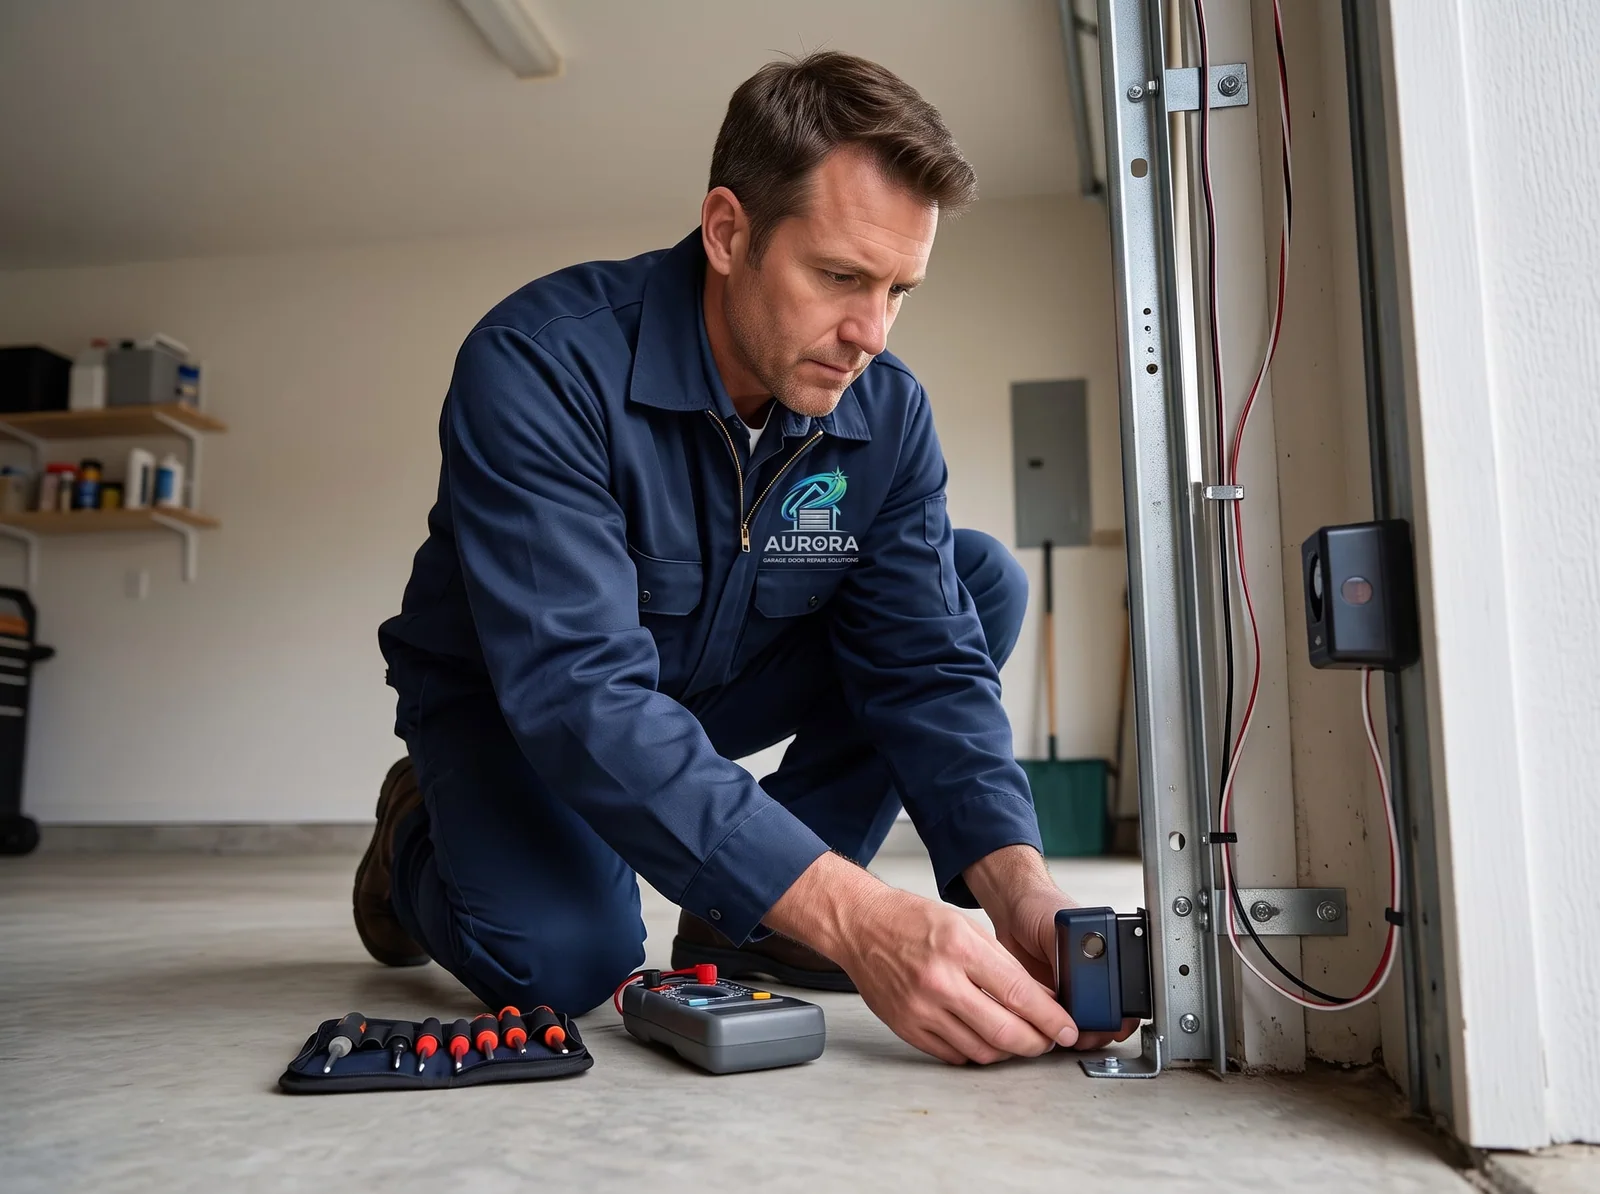
Look for two small boxes mounted on brackets roughly four to six inches off the garage floor, one on each side of the door track. These are the photo-eye safety sensors, required on residential openers manufactured since 1993 under federal safety regulations enforced by the U.S. Consumer Product Safety Commission. One sensor sends an infrared beam across the opening; the other receives it. Break that beam while the door is closing, and the opener is designed to stop and reverse rather than close on whatever broke it. This is the single most common reason a door won't close, full stop.
Most sensor pairs have a small LED on each unit. A solid, steady light on both usually means proper alignment; a blinking or flickering light on one side usually means it's misaligned, obstructed, or receiving a beam it shouldn't. Check these specific things:
- Physical alignment. A car bump, a leaning bike, or a shop-vac hose dragged across the garage can nudge a bracket just enough to throw off the beam without looking obviously crooked. Sight down the line between the two sensors — they should point directly at each other.
- Dirt, dust, and grime on the lenses. Aurora winters mean road salt and de-icing residue tracked in on tires and boots, and that residue settles as a fine film on anything low to the ground, sensor lenses included. Wipe both lenses with a soft, dry cloth.
- Direct sun glare. Low winter sun angle can shine straight into a sensor lens through an open door or a window, effectively blinding it. If the problem only happens at certain times of day, this is worth checking before anything else.
- Anything crossing the beam. A stray leaf, a dropped tool, a pet toy, even a spider web strung between the two brackets can trip the sensor. Clear the path and try again.
If realigning and cleaning the sensors doesn't resolve it, don't force the issue by covering or disconnecting them — see the warning below.
Step 2: Inspect the Photo-Eye Wiring for Damage
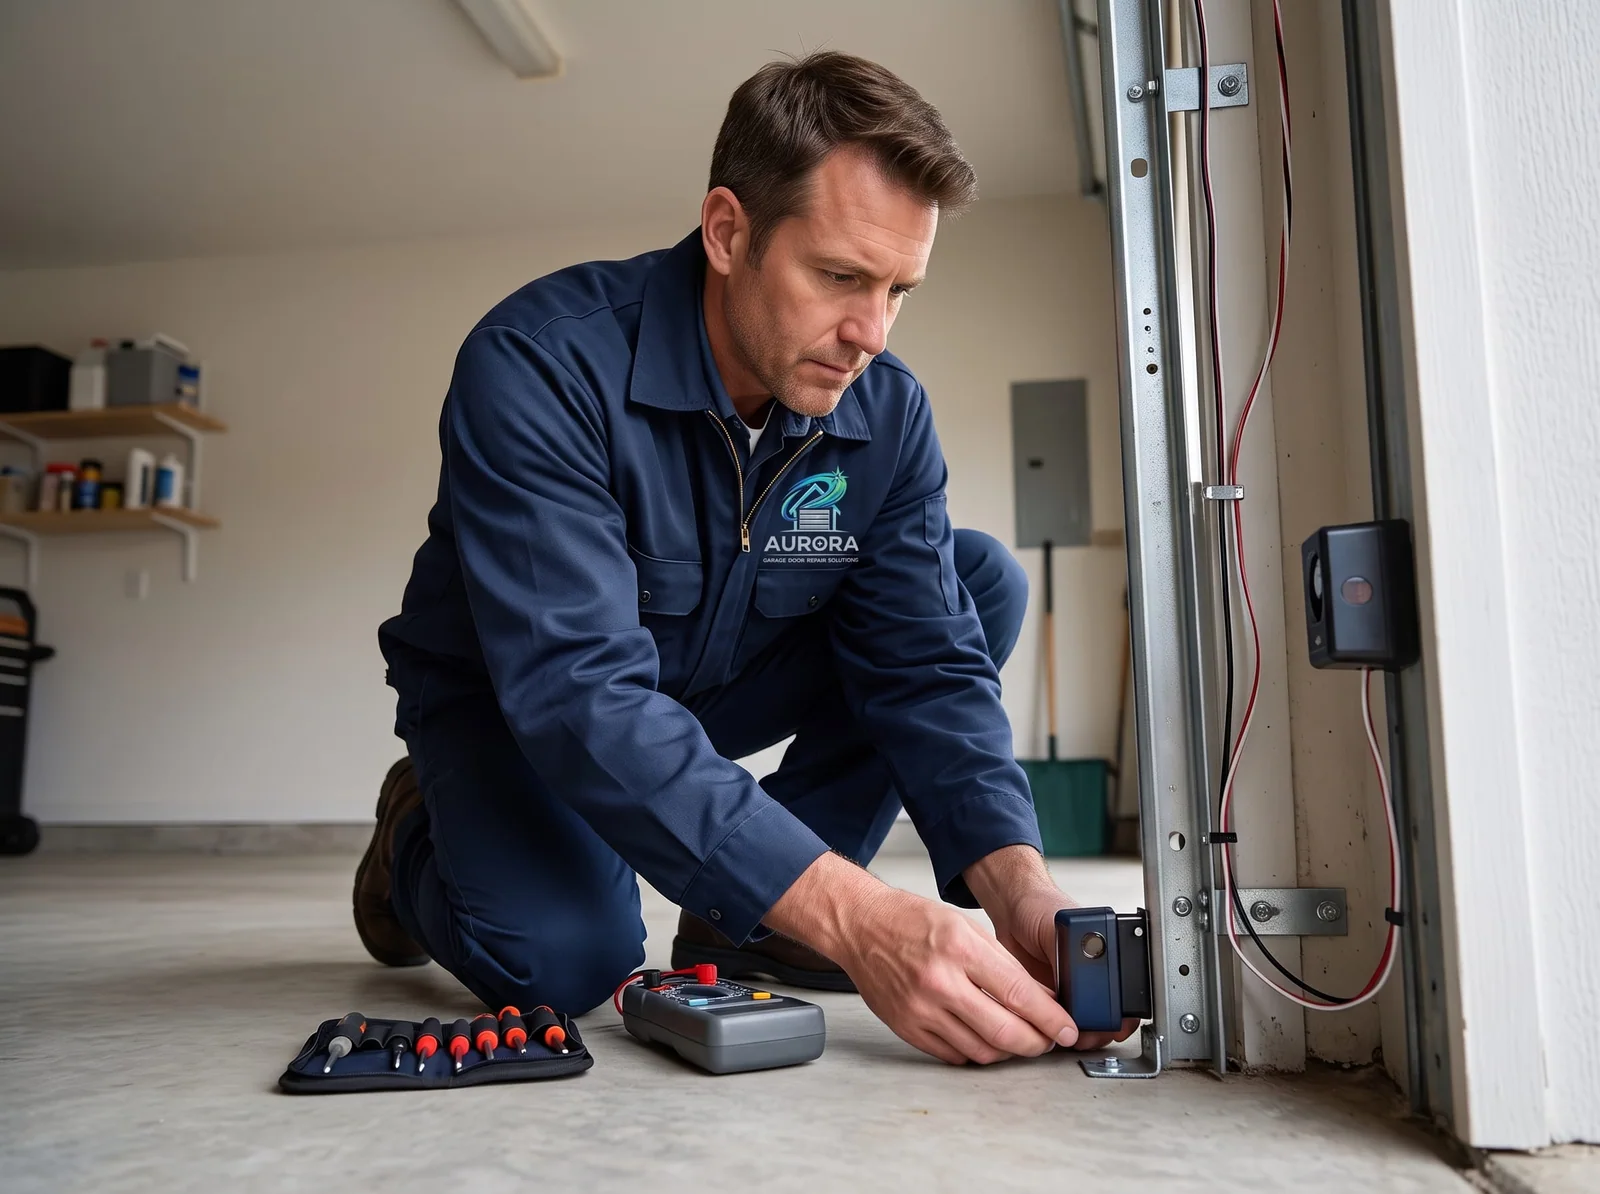
If the sensors look aligned and clean but the door still won't close, or the LED indicators are behaving erratically, the next place to look is the wiring that runs between each sensor and the opener unit. This is thin, low-voltage cable, usually stapled along the wall and up into the track or ceiling, and it's more fragile than it looks.
Common causes of damage worth checking for:
- A nail or staple driven through the wire while hanging shelving, holiday lights, or a bike rack.
- Chewed insulation — garages are a favorite spot for rodents seeking warmth in cold months, and they will gnaw through low-voltage wire insulation.
- A pinched wire where a storage shelf, ladder, or parked equipment has shifted against it.
- Corrosion at a wire-nut splice, especially near the floor where snowmelt or de-icing salt spray can reach it over a winter.
- A wire that's pulled loose from its terminal screw on the back of the sensor or at the opener head unit — check that both ends are seated and tight.
A telltale sign of a wiring problem specifically is a door that reverses inconsistently — closing fine some days and not others, or reversing at a random point rather than always at the same spot. That kind of intermittent behavior usually means a connection that's making contact sometimes and not others, rather than a fixed obstruction. If you find visibly damaged wire, a short section can sometimes be spliced, but if the damage is at the sensor itself or you're not comfortable working with the wiring, this is a reasonable point to call in a technician rather than risk a bad splice that fails again in a month.
Step 3: Look for Obstructions in the Track
With sensors and wiring cleared, check the tracks themselves — the vertical rails the rollers ride in on each side of the door. Debris here is easy to miss because it collects at floor level where it's not at eye level when you're looking at the door.
Walk both tracks from the floor up to about waist height and look for:
- Rock salt or ice melt product that's built up and hardened in the track channel.
- Ice buildup at the base of the track after a freeze-thaw cycle, which is common in the Aurora area given how often temperatures swing above and below freezing in a single week during winter.
- A bent or dented section of track, often from a car bumper or a ladder leaned against it.
- A roller that's worked partly out of the track, which will bind rather than roll smoothly.
Also check where the bottom weatherstrip meets the floor. If the garage floor has settled unevenly or there's a ridge of ice at the threshold, the door can physically be prevented from seating all the way, which some openers read the same way as an obstruction and respond to by reversing.
Step 4: Does It Close Partway and Reverse, or Not Move at All?
These are two different problems with two different likely causes, and separating them narrows the diagnosis considerably.
Door closes partway, then reverses back open. This almost always traces back to the safety system or the opener's travel and force settings covered in Steps 1 through 3. If you've already confirmed the sensors are aligned, clean, and unobstructed, and the track is clear, the next suspect is the opener's close-force setting. Every opener has an adjustable limit that controls how much resistance it will push through before assuming it's hit an obstruction and reversing. If that limit is set too low — sometimes from a factory default, sometimes from a previous adjustment — a door with even mild resistance from a slightly stiff roller or a touch of track misalignment will trip it. This setting shouldn't be cranked up to force the door through real resistance; that's treated as a workaround for a mechanical problem rather than a fix, and it can mask a developing balance issue. If the door genuinely needs more force to close smoothly, something in the mechanical path needs attention, not a higher force ceiling on the opener.
Door doesn't move at all. This points toward power or opener issues rather than the safety system. Work through these in order: confirm the opener's outlet has power — garage outlets are very often on a GFCI circuit, and a tripped GFCI (sometimes on a different outlet in the garage or even in the house) will kill power to the opener with no obvious sign at the unit itself; check the remote's battery and try the wall button directly; and check that the emergency release cord — the red rope hanging from the trolley — hasn't been pulled, which disconnects the door from the opener carriage entirely. If the release has been pulled, the trolley needs to be manually reconnected to the carriage, usually by pulling the release again and guiding the door until the mechanism re-engages, which is described in most opener manuals.
One more useful test: with the opener disconnected via the release cord, lift the door by hand slowly. It should move smoothly and stay roughly balanced at any point you let go. If it feels unusually heavy, drops on its own, or moves unevenly side to side, that's a mechanical balance issue rather than anything electrical, and it changes the diagnosis considerably.
Step 5: Test the Wall Control Button
The wall-mounted control button is a simple part, but it fails often enough to be worth its own check. Moisture behind the plate, a button that's physically sticking, or low-voltage wiring pinched behind the mounting plate when it was last installed can all cause a button that appears to work but sends an inconsistent signal.
Press and hold the wall button firmly rather than tapping it, and watch whether the door responds the same way it does from a remote. If the remote closes the door reliably but the wall button doesn't, the problem is isolated to that button or its wiring run, not the opener or sensors. If neither the remote nor the wall button closes the door but the opener motor hums or the light comes on, that also points back to the safety sensor circuit rather than the control input, since most openers will accept the close command but refuse to act on it if a sensor is reporting an obstruction.
Step 6: When to Stop and Call a Professional
Everything above is safe to check yourself. This step is different. If any of the following are true, stop troubleshooting and call a technician rather than continuing to operate the door:
- You can see a visible gap in the coil of the torsion spring above the door — a clean separation in the metal coil is a broken spring, not a loose one.
- A cable has come off its drum at either end of the shaft, or you can see frayed strands in a cable.
- You heard a loud bang from the garage recently, especially in cold weather — that's often the sound of a spring failing, and torsion springs are more prone to breaking in the cold because the metal contracts and loses some flexibility.
- The door feels dramatically heavier than usual when lifted by hand, or won't stay up on its own partway.
- The door hangs visibly crooked in the opening.
A door with a broken spring or a displaced cable is still under partial tension from the opposite side and from the door's own weight, and the opener is not built to lift a full door's weight on its own — that's the spring's job. Forcing the door with the opener at that point puts extreme strain on the opener rail and trolley and can pull the whole assembly loose from the header, on top of the risk the door itself presents. This is exactly the kind of failure Ryan Delaney had in mind when he built his own repair standards around never rushing spring and cable work — he's seen firsthand what a snapped spring can do to someone standing nearby. If you see any of the signs above, leave the door where it is and get a technician out rather than attempting to close it manually or with the opener.
Quick Reference for Next Time
Once you've been through this once, most repeat troubleshooting takes under five minutes. Keep this order in mind:
- Sensors first — alignment, cleanliness, glare, obstructions.
- Wiring second — look for damage or loose connections at the sensors and opener.
- Track third — debris, ice, bent rail, a roller out of channel.
- Behavior fourth — partial close and reverse points to sensors or force settings; no movement points to power or the opener.
- Wall button fifth — isolate whether the problem is the control or the system it's controlling.
- Springs and cables last — and if you see damage there, stop and call for help.
Most calls resolve at Step 1 or Step 2. The ones that don't are usually worth a professional look before they turn into a stuck door at the worst possible time — during a snowstorm, on the way to work, or with a car trapped inside.

Ryan Delaney
Owner and lead technician at Aurora Garage Door Repair Solutions, serving Aurora, IL since 2009.
FAQs
Can I just disconnect or unplug the safety sensors so the door will close?
No. Bypassing or removing the safety sensors is dangerous and defeats the entire purpose of the system, which exists to stop the door from closing on a person, pet, or object. If the door won't close because of the sensors, the fix is to find and correct the actual alignment, dirt, or wiring problem, not to disable the safety feature.
Why does my garage door only fail to close in the winter?
Cold weather affects several parts at once: road salt film builds up on sensor lenses faster, low winter sun angle causes more glare, metal track sections can contract slightly and bind, and torsion springs lose some flexibility in the cold, which is also when they're most likely to break. If the problem is seasonal, start with the sensors and track before assuming it's the opener.
Is it safe to keep trying the remote or wall button repeatedly if the door won't close?
A few tries to isolate the cause is fine, but if you've identified signs of a broken spring or a cable off the drum, stop trying to operate the door with the opener entirely. Repeated attempts don't fix a mechanical failure and can make the eventual repair more complicated or unsafe.
How much does it cost to fix a garage door that won't close?
It depends entirely on the cause — a sensor realignment or a wiring repair is a much smaller job than a broken spring or cable replacement. Aurora Garage Door Repair Solutions provides free upfront quotes before any work begins, so you'll know the cause and the cost before committing to a repair.
How long does a typical diagnostic visit take?
Most diagnostic visits for a door that won't close take well under an hour once a technician is on site, since the checks follow roughly the same sequence outlined here. Sensor and wiring fixes are often completed the same visit; spring or cable repairs may take longer depending on parts on hand.
My door closes fine some days and not others. What does that mean?
Inconsistent behavior usually points to something intermittent rather than a fixed obstruction — a loose wire connection, a sensor that's borderline misaligned and only fails when sun angle or vibration shifts it slightly, or a force setting that's right on the edge of tripping. It's worth checking wiring connections specifically, since a loose connection often behaves exactly this way.
Have a Garage Door Problem Right Now?
Skip the guesswork — call Aurora Garage Door Repair Solutions for a fast, honest diagnosis.