
The 15-Minute Garage Door Maintenance Routine (Do This Twice a Year)
A seasonal, homeowner-safe garage door checklist built around Aurora's freeze-thaw climate, with a clear line between what you can inspect yourself and what needs a technician.
Why Aurora's Seasons Are Hard on a Garage Door
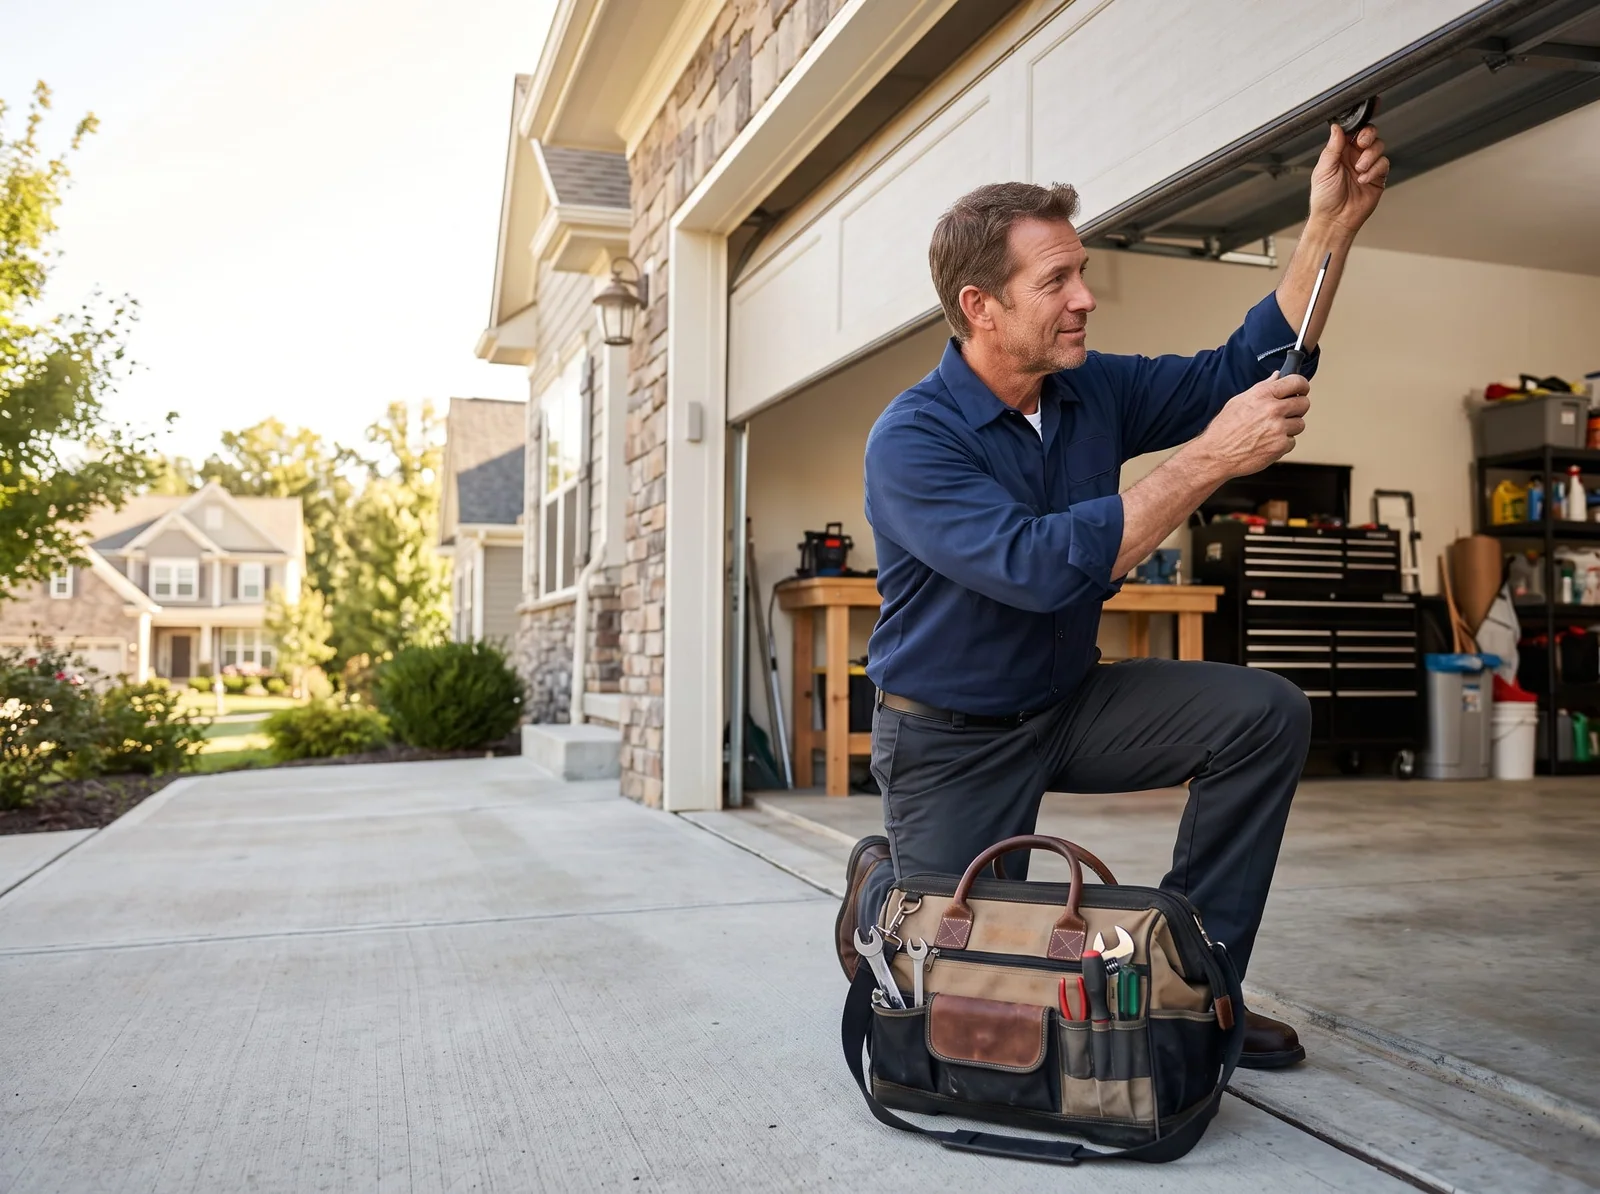
A garage door in Aurora does more mechanical work over a year than most people realize. It's the largest moving object in most houses, it's opened and closed dozens of times a week, and it lives outside in a climate that swings from single-digit January mornings to humid, 84-degree July afternoons. That swing matters more than most homeowners think. Cold contracts steel torsion springs and can make them lose tension or fail outright, especially on a door that's been sitting closed and unused for days during a cold snap. Metal tracks contract too, which can tighten clearance around rollers just enough to cause binding or noise that wasn't there in September. Nylon rollers get brittle in the cold. Chain and belt drive components in the opener stiffen as lubricant thickens. On the other end of the year, freeze-thaw cycles through a Fox Valley winter can shift a concrete slab or the track mounting points by fractions of an inch — not enough to notice by eye, but enough to throw off alignment over a season.
That's the case for doing this twice a year rather than once: once in spring, after the freeze-thaw cycle has had its chance to shift things and before summer humidity and pollen start gumming up tracks, and once in fall, before the first hard freeze locks in whatever wear accumulated over summer. Fifteen minutes, twice a year, catches most of the small problems — a stiff roller, a loose bracket, a sensor that's drifted out of alignment — before they turn into a 6 a.m. call because the door won't open and someone's late for work.
This checklist is deliberately split into two categories. The first is stuff any reasonably careful homeowner can do safely with basic tools and five minutes of attention. The second is stuff that involves stored mechanical energy — springs and cables under tension — that has hurt people badly enough that the U.S. Consumer Product Safety Commission tracks it as a known hazard category. We'll tell you exactly where that line is and why it's there, not just wave at it.
Before You Start
You don't need a toolbox full of specialty equipment for this. A flashlight, a rag, a tape measure or a spare 2x4, a roll of paper towels, and a small adjustable wrench or socket set cover everything on the safe side of this list. What you do need is the opener disconnected from power before you touch anything near the moving parts, and the door itself down and at rest — not mid-cycle, not held open by a prop stick — while you're doing the visual inspection.
One ground rule before anything else: if the door is currently misbehaving in a way that suggests a spring or cable problem — it feels heavy when lifted manually, it slams down instead of gliding, one side looks visibly lower than the other, or you can see a coiled spring that's clearly separated or drooping — stop and skip straight to the professional section below. Don't run through the rest of the checklist on a door that's already showing signs of a spring or cable failure in progress. That's a different situation than routine maintenance.
Look, Don't Touch: Inspecting Springs and Cables
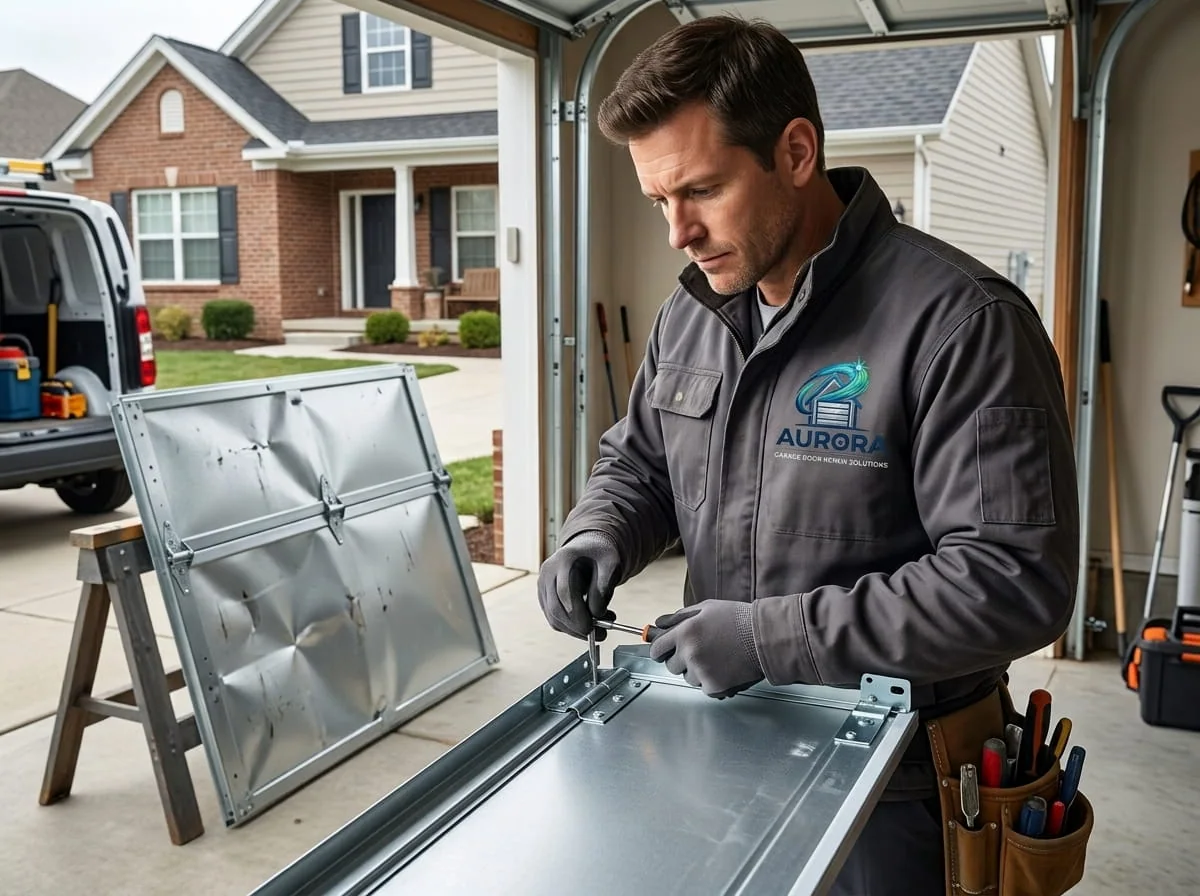
This is a visual inspection only. With the door closed and the opener unplugged, look at the torsion spring (or springs) mounted on the horizontal bar above the door, and the cables running down each side to the bottom brackets. You're checking for three things: rust, especially pitting or flaking that's eaten into the wire itself rather than just surface discoloration; fraying on the cables, where individual strands have separated from the main cable; and any visible gap in the spring coils that looks different from a smooth, even coil. A little surface rust after an Illinois winter is common and not automatically alarming. Frayed cable strands or a spring with a visible separation are not things to wait on.
Do not touch, adjust, unhook, or attempt to "just tighten" anything at the spring or cable. Torsion springs are wound under significant tension specifically so they can lift a door that weighs well over a hundred pounds, and that stored energy doesn't care whether the person near it meant to interact with it. DASMA's technical standards on spring cycle life (TDS-190) exist because springs are rated components that wear out on a predictable cycle count, not because they're meant to be field-adjusted by whoever notices they look tired. If something looks wrong here, note it, take a photo if it helps you describe it later, and move on to the rest of the checklist — then call for a proper inspection.
Lubrication Done Right
This is the single most useful five minutes on this list, and it's also the step people get wrong most often by reaching for whatever's already in the garage. Motor oil is too thin and runs off, attracting dust and grit that turns into grinding paste on your rollers. WD-40 is a solvent and light penetrant, not a lubricant — it's fine for freeing a stuck bolt, but it evaporates and leaves surfaces drier than before within a few weeks, which is the opposite of what you want on a part that needs to stay lubricated for months. Use a silicone-based or lithium-based garage door lubricant, sold specifically for this purpose at any hardware store, and apply it sparingly.
Lubricate the roller bearings (not the nylon roller wheel itself, just where it meets the stem and bracket), the hinges between panels, the top of the track wall where rollers ride, and the opener's drive rail if it's a chain or screw drive per the manufacturer's spec. A light coating is enough — you're not trying to coat the metal, you're trying to get lubricant into the moving joint. Wipe away excess so it doesn't attract dust. In Aurora's climate, this step does real work in both directions: it keeps summer humidity from encouraging surface rust on hardware, and it keeps winter cold from turning old, gummed-up lubricant into something closer to glue, which is a common cause of a door that suddenly feels heavy on a cold morning even though nothing actually broke.
Hardware, Tracks, and Weatherstripping
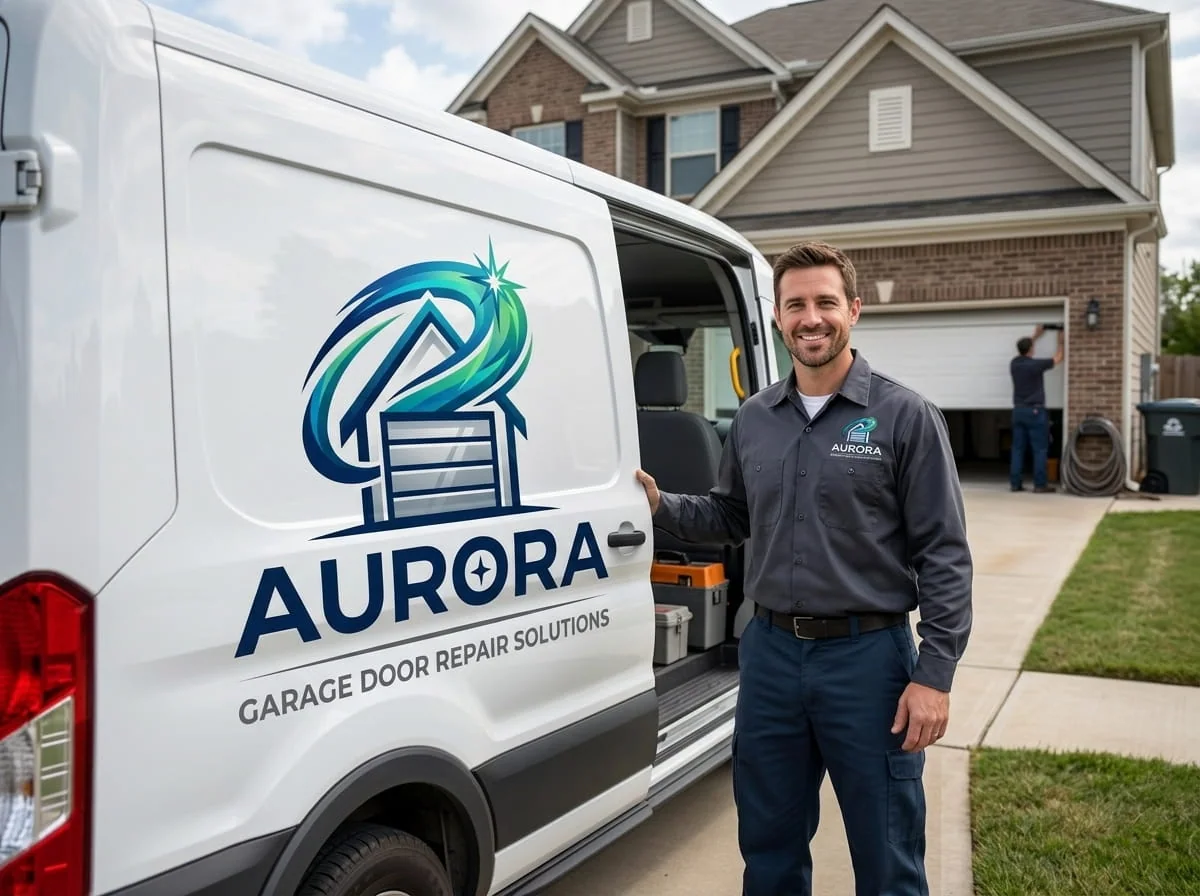
Vibration loosens things over a few hundred open-close cycles, and a garage door goes through a lot of cycles in six months. Walk the track brackets, the hinges, and the roller brackets with a socket wrench and snug up anything that's visibly loose — bolts holding the track to the wall framing, hinge bolts between panels, the brackets that hold the bottom fixtures. This is ordinary hardware maintenance, the same as tightening a wobbly cabinet handle. The one exception, worth repeating, is any hardware directly on the spring anchor bracket or cable drum — leave that alone even if it looks loose, since those brackets are holding tensioned components and aren't a place for casual tightening.
While you're at the tracks, run a rag along the inside of both vertical tracks to clear leaves, cottonwood fluff, road salt residue, and the general debris that collects over a season, especially on doors that face the street. Check that the tracks are still free of dents or visible gaps at the joints. Finish by checking the weatherstripping along the bottom of the door — the rubber seal that meets the garage floor. Aurora's freeze-thaw cycles are hard on this material; it cracks, flattens, or pulls loose from its track over a few winters. A compromised bottom seal lets in cold air, water, and small pests, and it's an inexpensive, homeowner-replaceable part sold by the foot at most hardware stores if yours has flattened out or cracked.
Testing the Safety Features
Every residential opener manufactured in the last few decades has two safety systems worth testing twice a year, and both tests are simple, safe, and take under a minute each.
The first is auto-reverse. Place a roll of paper towels, or a 2x4 laid flat, in the door's path on the ground and trigger a normal close cycle from the wall button or remote. The door should touch the obstruction and reverse back up immediately, not push through it or stop and sit on it. If it doesn't reverse — if it stalls, keeps pushing, or closes anyway — that's a same-day issue, not a wait-and-see one, since this is the mechanism that keeps the door from closing on a person, a pet, or a car bumper. Most openers have a basic, manufacturer-documented adjustment for close-force sensitivity in the owner's manual, and it's reasonable to check that setting against the manual once. Beyond that documented adjustment, force and limit tuning on the opener itself is a job for a technician, since getting it wrong in the other direction can make the door too sensitive to close at all, or not sensitive enough to be safe.
The second test is the manual release, sometimes called the emergency disconnect — the red cord hanging from the trolley on the opener rail. With the door closed, pull it to disengage the opener and confirm you can lift and lower the door by hand smoothly. This is what lets you get the door open during a power outage, and it's also a rough gauge of spring balance: a properly balanced door should feel roughly even to lift by hand, not shockingly heavy or want to slam down. If it does either of those things, that's a spring-balance issue, not a manual-release issue, and it belongs in the professional column below. Reconnect the release afterward by closing the door and re-engaging the trolley per your opener's instructions.
What Not to Touch: When It's a Professional's Job
The dividing line on this checklist isn't arbitrary, and it isn't there because the work is complicated to explain. It's there because torsion springs and cables store enough energy to cause serious injury when they release unexpectedly, and unlike most home maintenance mistakes, a spring or cable mistake doesn't always give a warning first. A short list of things that belong to a technician, not a checklist item:
- Spring tension adjustment. Winding, unwinding, or re-tensioning a torsion spring requires specific bars, technique, and an understanding of how much force is actually stored in that coil. This is the single most common cause of serious garage door injuries.
- Cable work of any kind. Replacing, re-seating, or adjusting a lift cable means working near a spring under tension, even if the cable itself looks like the simpler part.
- Opener force and limit adjustments beyond the basic, manufacturer-documented settings in your owner's manual. Fine-tuning travel limits or force settings on an opener that isn't behaving correctly after a documented adjustment usually points to an underlying mechanical issue — often spring balance — that needs diagnosis, not a deeper settings tweak.
- A door that's visibly off its track, or that came down hard and fast. Don't attempt to force it back into position.
None of this is about making homeowners nervous. It's the same reason electricians handle a breaker panel and homeowners handle a light switch — the risk profile is genuinely different, not just more inconvenient. If your spring inspection turned up rust or fraying, if the door felt unbalanced during the manual release test, or if auto-reverse didn't work, Ryan Delaney and the team at Aurora Garage Door Repair Solutions provide free, upfront quotes before any work starts, so there's no guessing involved in deciding whether a repair is worth doing.
Your Twice-a-Year Checklist at a Glance
Print this or save it, and run through it in spring after the last hard freeze and again in fall before the first one.
| Task | Who does it | Notes |
|---|---|---|
| Visual check of springs and cables | Homeowner (look only) | Check for rust, pitting, fraying — do not touch or adjust |
| Lubricate rollers, hinges, track | Homeowner | Silicone or lithium garage door lubricant, not motor oil or WD-40 |
| Tighten visible hardware | Homeowner | Track and hinge bolts only, never spring anchor hardware |
| Clear tracks of debris | Homeowner | Wipe down with a rag, check for dents |
| Check bottom weatherstripping | Homeowner | Replace if cracked, flattened, or pulled loose |
| Test auto-reverse safety feature | Homeowner | Use a 2x4 or paper towel roll in the door's path |
| Test manual release / emergency disconnect | Homeowner | Confirm the door lifts smoothly and evenly by hand |
| Spring tension adjustment | Professional only | Stored energy hazard — never DIY |
| Cable replacement or adjustment | Professional only | Always near a tensioned spring |
| Opener force/limit tuning beyond manual settings | Professional only | Usually signals a mechanical issue underneath |
Fifteen minutes twice a year is a realistic amount of time to ask of a homeowner, and it's enough to catch the majority of what actually goes wrong with residential garage doors between now and the next hard freeze.

Ryan Delaney
Owner and lead technician at Aurora Garage Door Repair Solutions, serving Aurora, IL since 2009.
FAQs
How much does garage door maintenance cost?
The homeowner-safe steps on this checklist cost nothing beyond a few dollars for lubricant and weatherstripping if yours needs replacing. What it costs to have a technician handle the professional-only items — spring balance, cable condition, a full tune-up — depends on the door's age, spring type, and what's actually found during inspection. Aurora Garage Door Repair Solutions provides a free, upfront quote before any work begins, so you know the scope before committing to anything.
Can I adjust my own garage door spring if it looks a little loose?
No. Torsion springs are wound under enough tension to lift a door that can weigh well over a hundred pounds, and that tension doesn't release gently if something goes wrong mid-adjustment. This is squarely a job for a trained technician with the right winding bars and technique, not a DIY project regardless of how simple it looks.
What lubricant should I actually use on a garage door?
A silicone-based or lithium-based garage door lubricant made for this purpose, applied lightly to roller bearings, hinges, and the track wall. Skip motor oil, which is too thin and attracts grit, and skip WD-40 as a long-term lubricant — it's a solvent that evaporates within weeks and leaves parts drier than before.
My door didn't reverse when it hit the 2x4 during the auto-reverse test. Is that dangerous?
Yes, treat it as a same-day issue rather than something to monitor. Auto-reverse is the mechanism that keeps a closing door from continuing onto a person, pet, or object in its path, and a door that fails this test shouldn't be used normally until it's inspected and corrected.
How often should I really be doing this — is twice a year enough?
For most Aurora homes, spring and fall lines up well with the seasonal stress the door actually experiences: freeze-thaw movement over winter and heavier summer humidity and debris. A door that gets unusually heavy daily use, or one that's already showing wear, can benefit from a quick mid-cycle look, but twice a year covers the fundamentals for a typical household.
Is it dangerous to do any of this myself?
The steps described as homeowner-safe on this list — visual inspection, lubrication, hardware tightening away from the spring, clearing tracks, checking weatherstripping, and testing auto-reverse and the manual release — are safe when the opener is unplugged and you're not touching springs or cables. The danger in garage door maintenance comes specifically from components under stored tension, which is why those are called out separately as professional-only work.
Have a Garage Door Problem Right Now?
Skip the guesswork — call Aurora Garage Door Repair Solutions for a fast, honest diagnosis.